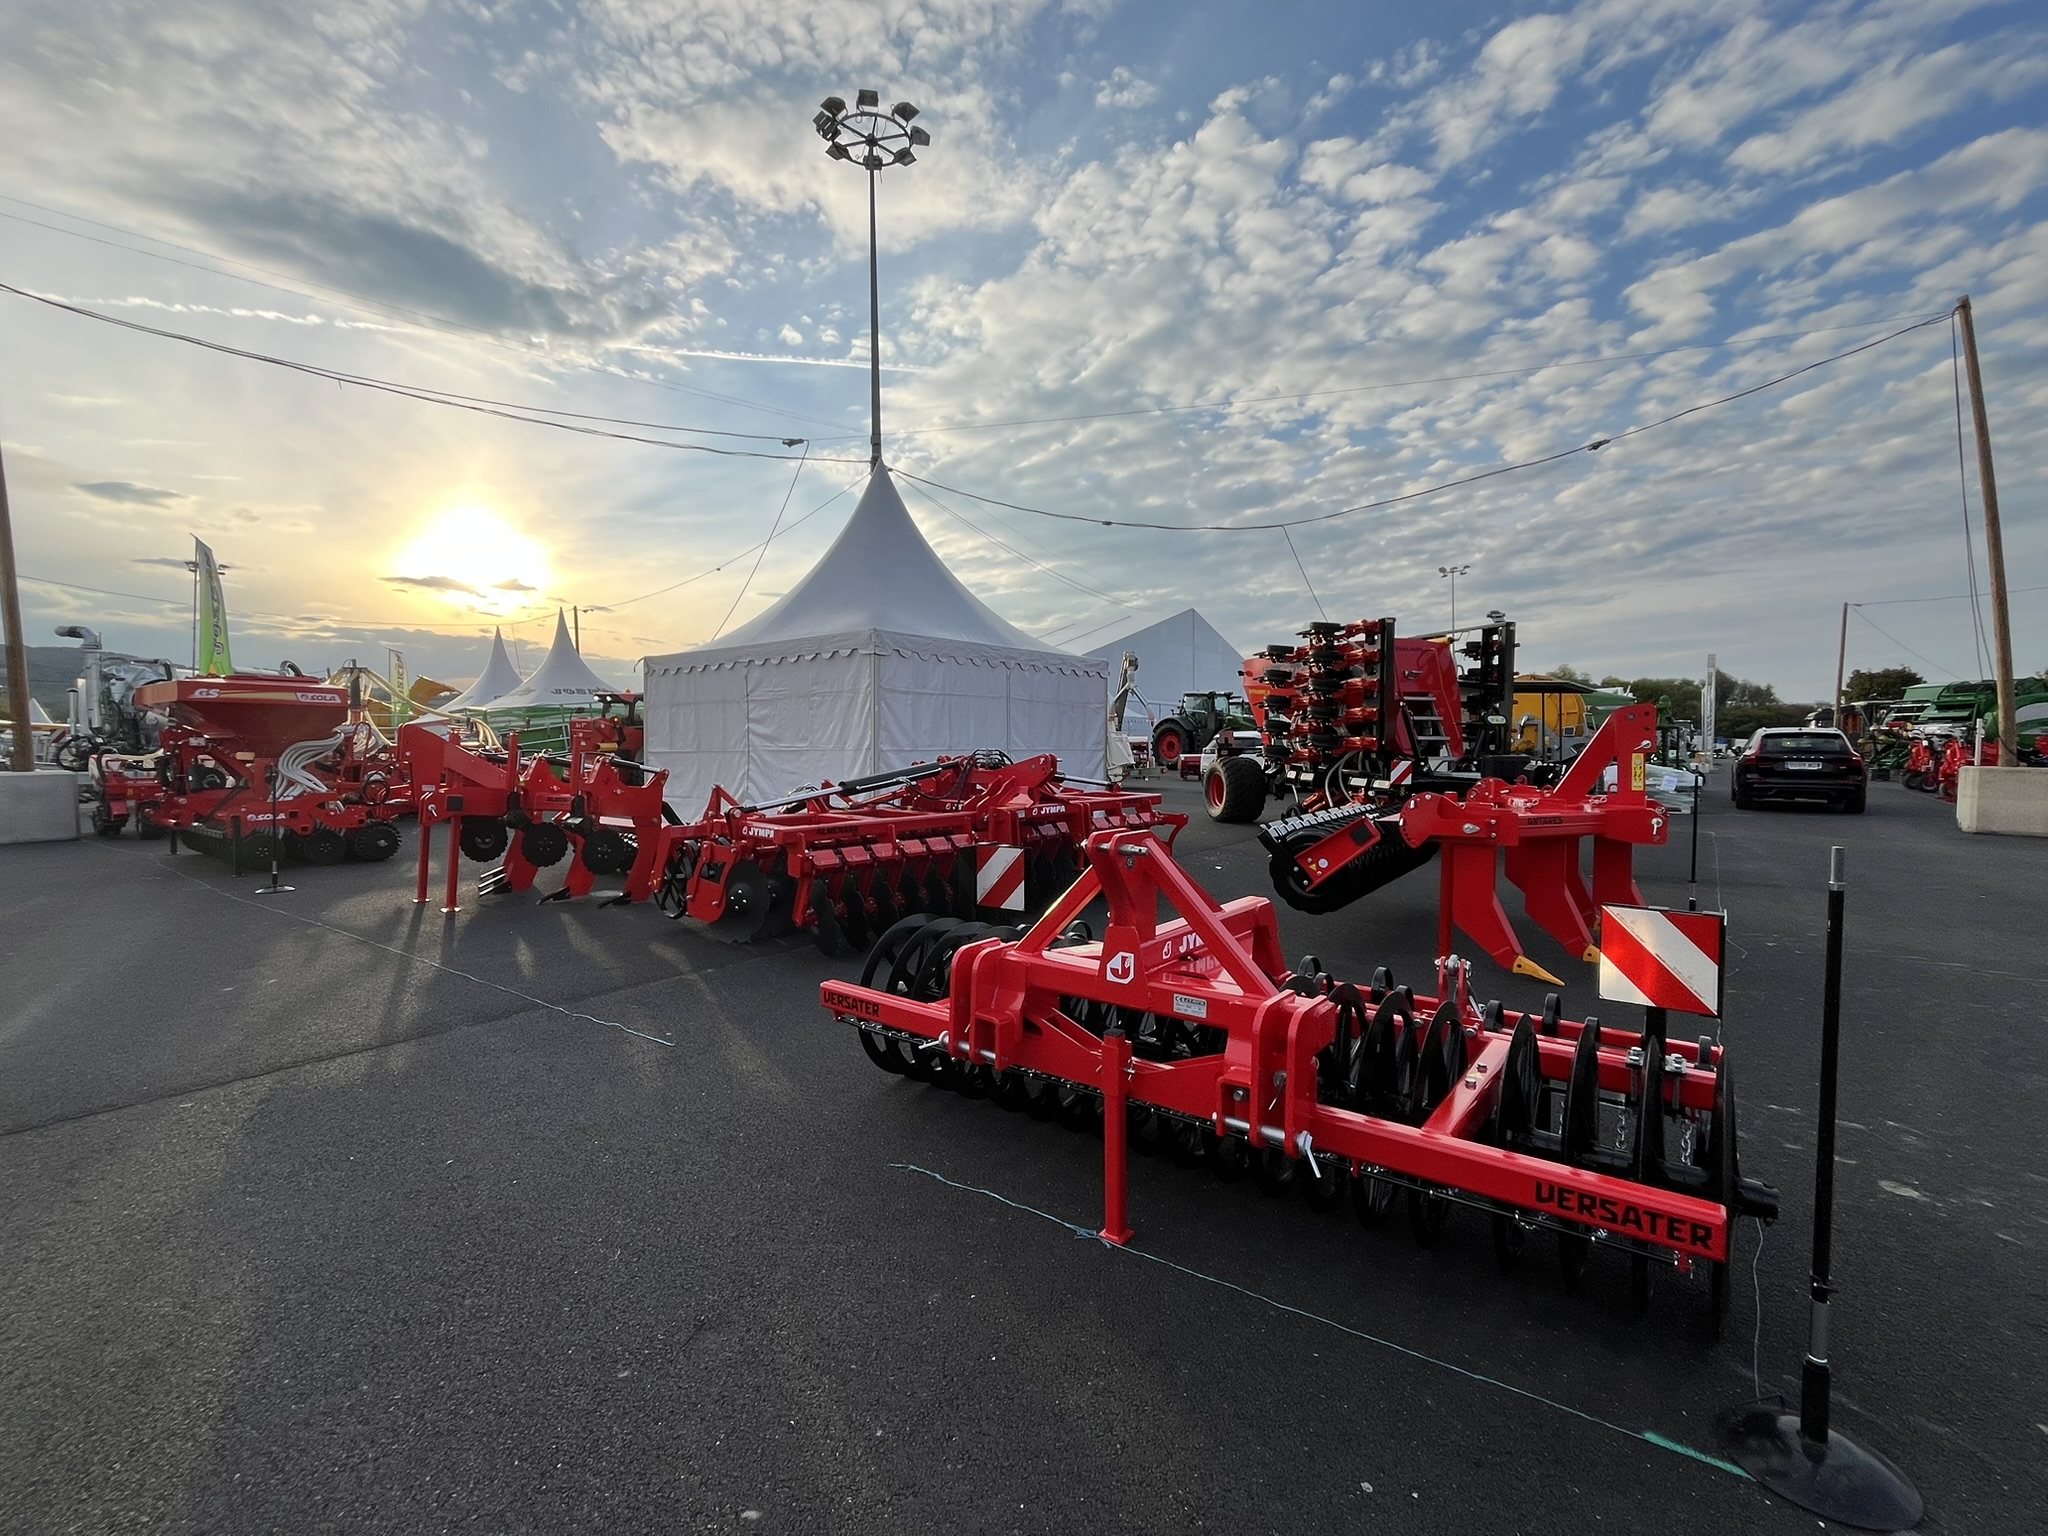
When the last trailer of grain is in, it is tempting to call the season over and rest. Yet soil preparation after harvest is one of the most profitable agronomic decisions of the year: it shapes water infiltration, root development and the yield of the following crop. The passage of the tractor and the combine, especially on slightly moist ground, leaves a footprint you cannot see at a glance but that the plant feels in every root. This guide sums up how to tackle post-harvest decompaction in a practical, cost-effective way.
Why act right after harvest
The period following harvest is a privileged working window. The soil is usually at the right moisture (neither waterlogged nor bone dry), crop residues have not yet fully broken down and there is still time before the next sowing. Using that window lets you break the compacted layers and help the autumn rains infiltrate deep instead of running off the surface. Delaying the job usually means working drier, harder soil, with higher fuel use and a poorer result.
- Improves infiltration and water storage for the next crop.
- Boosts aeration and the biological activity of the profile.
- Makes it easier to manage and partially bury crop residues.
- Reduces the risk of waterlogging and of erosion on slopes.
Identify the compacted layer before tilling
There is no point in working blind. Before deciding the working depth it pays to diagnose where the problem really is. A simple soil pit —an inspection hole in the profile— or a hand penetrometer help locate the plough pan, that hardened layer that tends to form at the usual working depth. Watching how the roots of the previous crop bend is another reliable clue: when they grow sideways instead of going down, they are hitting a barrier.
Signs the soil needs decompaction
- Water that ponds and is slow to infiltrate after rain.
- Hard clods and clear resistance when pushing in a bar or penetrometer.
- Deformed roots clustered in the topsoil.
- Marked wheel tracks and weaker growth lining up with machinery passes.
The decompaction pass: depth and tool
The aim of decompaction is not to turn the soil over but to fissure it at depth so water and roots can move again. For that, the reference implement is the subsoiler, which works below the compacted layer and cracks it without inverting the profile or burying the surface organic matter. The key is to set the depth just below the plough pan: too shallow does not solve the problem, and too deep raises fuel use with no added agronomic benefit. You can see the different set-ups in the JYMPA subsoilers range.
It helps to work when the soil is dry enough at depth so that it shatters rather than simply opening a slot that closes again. On fields with heavy residue, pairing the pass with a disc implement helps chop the straw and prepare an even seedbed; for that shallow work, disc harrows are a good complement to subsoiling.
Decompact only where needed: variable depth
Compaction is rarely uniform across a field: it changes with texture, wheel tracks and the history of passes. Applying the same depth over the whole field almost always means burning extra fuel in the areas that do not need it. Variable-depth technology such as Dynamic Scan measures soil hardness in real time and adapts the pass metre by metre, concentrating the effort where compaction really is. It is a direct way to save energy and look after the soil with judgement.
Conclusion
Good soil preparation after harvest is not a cost but an investment paid back in infiltration, rooting and yield. Diagnose the compacted layer, choose the right tool and match the depth to each zone. If you would like advice on the best configuration for your soils, the JYMPA team can help you choose across its full range of soil-preparation machinery. Every season that starts with a well-structured soil begins with an advantage.